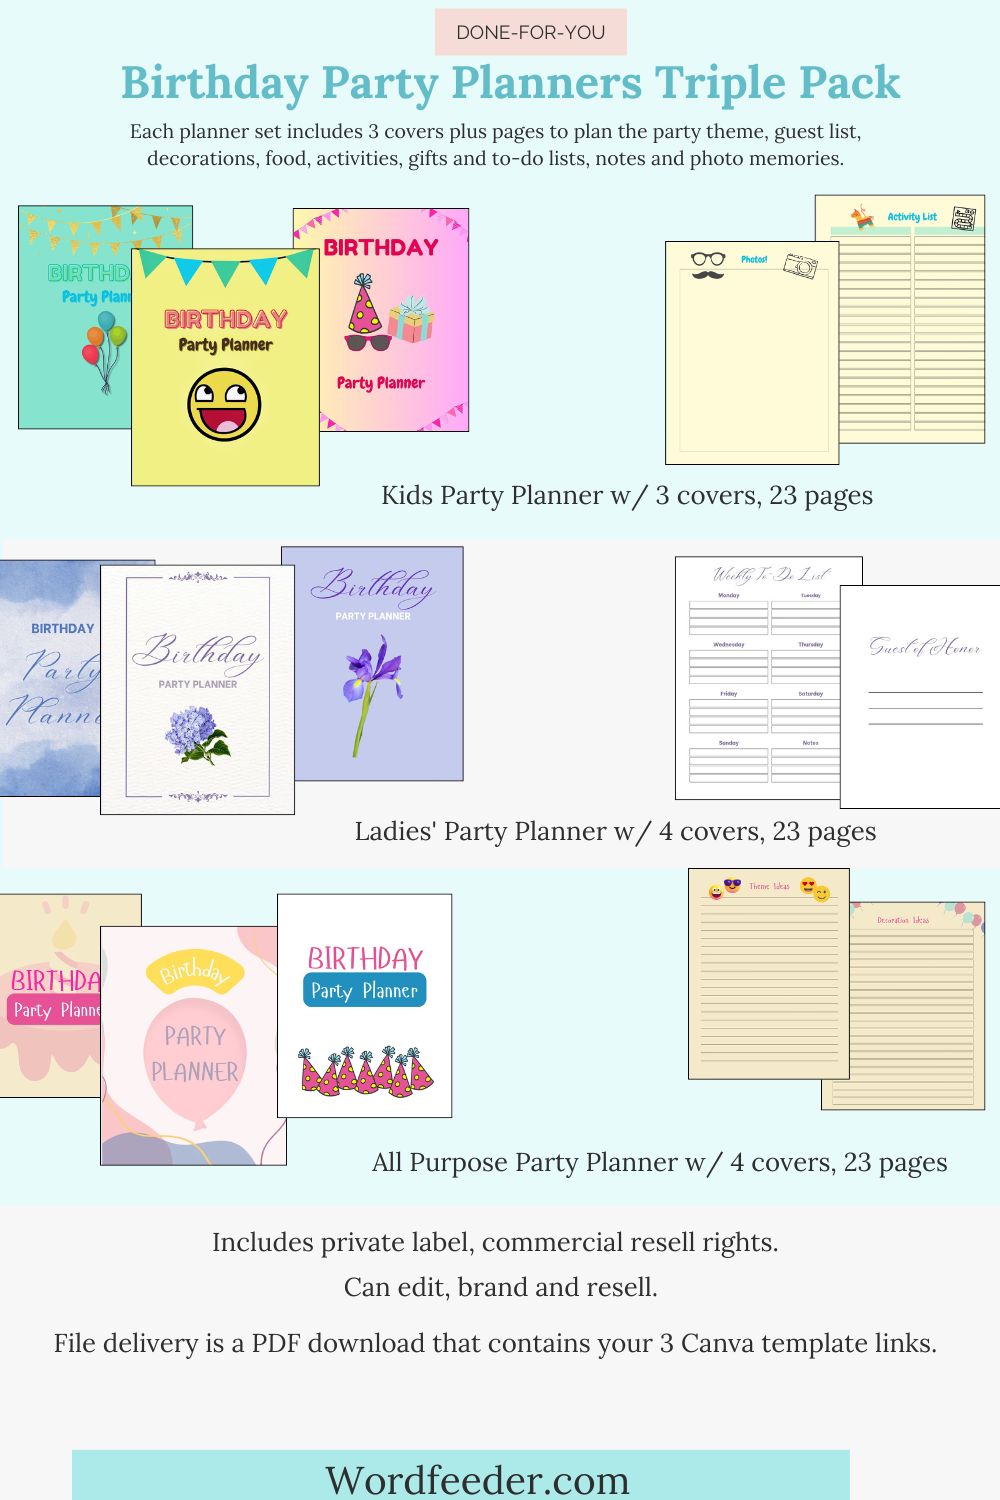
Last Day! DFY Birthday Party Planner 3- Pack! Exact Steps to Set Up as YOurR Product Listing
Published: Fri, 05/31/24
Updated: Fri, 05/31/24
The Birthday Party Planner 3- Pack is listed on this page if you'd like to order this and use the template to edit this into a new planner and sell as YOUR digital product.

Use coupon code PLANNERS20 for $20 off. Today, May 31, is the last day! Go get the planners and use this to launch your own!Do you want to know how to set up a product listing to sell your planner or other digital product? Here are the steps.
In order for you to run with planner sales yourself, you must do the following:
STEP 1: Edit the planner into something new.
- Access the Canva template that contains the planner(s) you want to edit. Save the file to your Canva account using a new name. (In this case, it would be the Birthday Party Planner 3-Pack)
- Make some edits to the planner(s) - change colors, fonts, backgrounds, themes. These planners could become anything... a bachelorette party planner, summer camp planner, the possibilities are endless!
Create a new product name. Upload the PDF file that contanis the planner link for download. You must create this yourself. Here's how:
-
- Create a new Canva doc.
- Drag in your logo and some text.
- Add a background or drag in an image of the planner to use as part of the graphic if you like.
- Type a "Thank you for ordering X planner. Access your Canva template here."
- Make "Access your Canva template here" into a link by highlighting it, and copying the TEMPLATE link from your Canva planner document.
- Open a new browser window and navigate to Canva.com.
- Under Recent Projects you'll see the Canva planner templates you just created.
- Click on the template to open it in a new window.
- Click SHARE, top right. In the dropdown, click TEMPLATE LINK. You will be prompted to create a template link. Copy it.
- Then go back the other Canva file that contains the "Thanks for dowloading" message.
- Highlight the words "Acces your CAnva template here" and a little link symbol will appear. Paste the Canva template link there.
- Check over the PDF and make sure it looks exactly how you'd like it to look. You could also add an upsell page if you like.
- Click SHARE, then DOWNLOAD the web-friendly version of the PDF file.
- Save the file to your computer.
- Then go back to aMember, Etsy or Amazon and return to the product you created. In the spot where it asks you to upload the file, choose the PDF that you just made which contains the download link.
- Upload product images of the planner you're selling.
- Add a product description and any other details that will help buyers find the product in a search.
- Save the listing and launch it.
If you're working in aMember, you'll want to set up an automated email that goes out after the product is purchased. It's also a good idea to create a PAGE in the member area where the product download lives.
Email your list, post in your blog, and share on social your announcement about the new planner product.
Are you ready to launch a planner of your own?
The Birthday Party Planner 3-Pack is right here if you'd like to order. Use the template to edit this into a new planner and sell as YOUR digital product. The coupon code for $20 off is already applied at checkout, and the offer ends after tonight!
Dina